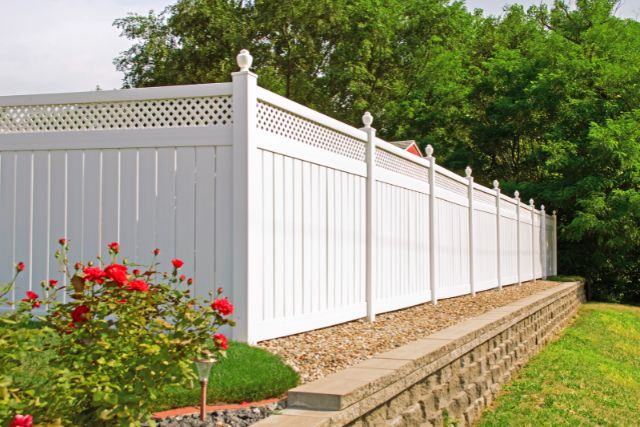
When it comes to fence repairs, there are several important steps to consider. Assess the damage, gather the tools, and then start fixing. This will ensure a successful and long-lasting solution. Plus, a well-maintained fence adds curb appeal and provides security.
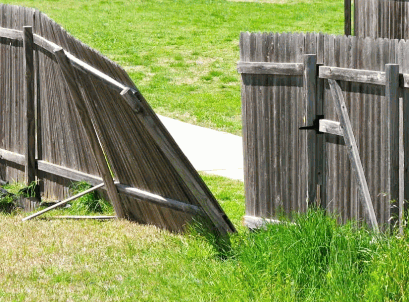
First, evaluate the extent of the damage. Are boards loose or missing? Is the fence leaning or sagging? This helps you decide the best course of action and allocate resources.
Next, get all the necessary tools. These may be a hammer, nails, screws, saw, tape measure and level. Having them ready saves time and prevents interruptions.
Now start repairing your fence. Secure any loose parts, replace missing sections, and make sure everything is aligned and fastened.
Maintaining a fence is an ongoing process. Regular inspections and maintenance prevent further damage. Identify issues early and address them to save from costly repairs.
By following these steps and being patient, you can fix your fence and ensure its longevity. With proper care, it will keep providing privacy and security for years.
Assessing The Damage
To fix your fence, it's crucial to assess the damage. Professional help can determine what repairs and materials are needed.
Look for broken boards; cracked, warped, or split. Replace those that can't be mended.
Check for loose nails. Secure them or replace them.
Inspect metal fixtures for rust or corrosion. Change any parts that need it.
Watch out for any other issues that could harm your fence. Don't miss the chance to keep it in good condition and look great by taking care of any damage you find.
Gathering The Necessary Tools And Materials
- Measure and assess your fence. Determine the measurements and amount of materials needed.
- Safety is key. Wear gloves, goggles, and sturdy footwear.
- Gather the tools. Hammer, screwdriver, tape measure, level, pliers, saw, wire cutters, drill with bits, and nails or screws.
- Collect materials. Fence panels, posts, rails or pickets, concrete mix, fasteners, hinges, latch mechanisms, and more.
- Additional supplies. Gravel for post holes, wood stain, or paint for finishing touches.
- Check twice that you have everything. Consider weather conditions and types of fences.
- Start collecting today and tackle the repair project without delays. Don't let fear of a broken fence stop you from taking action!
Preparing The Work Area
For a smooth fence fix, it's essential to read the workspace. This saves time, and effort, and promotes safety. Clear the area of any obstacles, debris, or vegetation that might impede the repair. This will make room for efficient work. Inspect for hazards, such as loose wires, nails, or sharp objects. Address these dangers before beginning to avert accidents. Gather all the necessary tools and materials before starting. This will avoid frequent interruptions for tool hunting. Check for underground utility lines to dodge accidental damage while digging holes or removing posts.
Proper preparation is the basis of a successful fence renovation. Fun fact: Bamboo fences are both eco-friendly and robust, lasting up to 20 years with proper upkeep According to The Spruce.
Removing Damaged Sections Of The Fence
- Assess the damage: Examine the fence and spot sections that won't be repaired. Look for signs like rotting, warping, or breaking. This will help you decide which parts must go.
- Gather tools: Before starting, get the tools you'll need. These may include a pry bar, saw, hammer, nails, and safety gear such as gloves and safety glasses.
- Remove damaged sections: Start by taking off any loose or broken pieces with a pry bar. Cut through larger sections if necessary. Be careful to stay away from causing extra damage.
- Prioritize safety: Wear protective gear throughout the process, and make sure nearby fence sections are stable.
- Fence History: Fences have been around for centuries. Ancient civilizations used stones, and early settlers used wooden fences. These structures have changed over time, but they still serve their purpose of providing security and privacy.
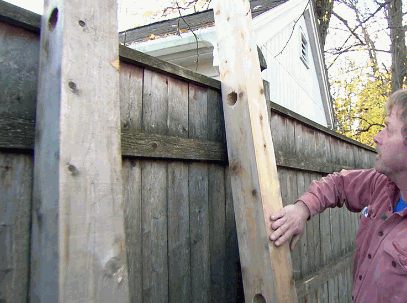
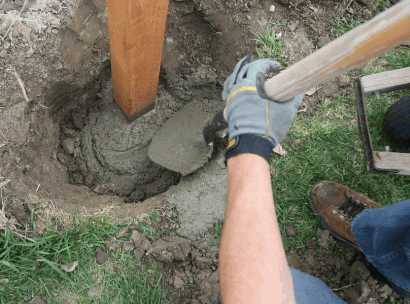
Repairing Or Replacing Fence Posts
Follow these 4 steps to repair or replace fence posts like a pro!
| Step | Description |
|---|---|
| 1 | Assess the damage: Look for signs of rot, cracks, or leaning. This will decide if you need to repair or replace. |
| 2 | Remove the old posts: Dig them out manually or use specialized equipment. Take safety measures. |
| 3 | Install new posts: Choose high-quality materials suited to your fence type and weather. Make sure they are aligned and secured properly. |
| 4 | Reinforce and stabilize: Use bracing or concrete footing for added support. This will keep your fence strong. |
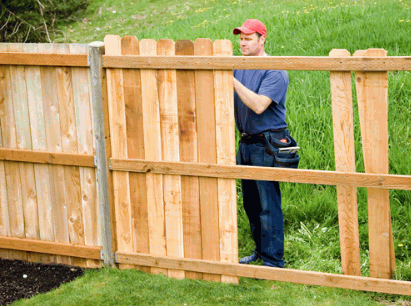
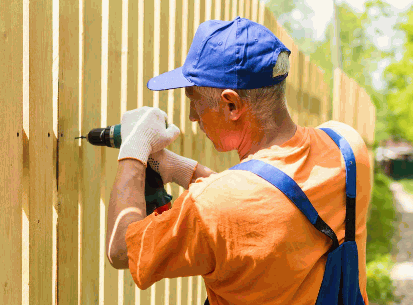
Installing New Or Repaired Fence Panels
Successfully install new or repaired fence panels by following these 3 easy steps:
- Assess the damage. Carefully check panels to determine which need replacing or repair. Note down any broken or weak parts.
- Collect needed tools and materials. After deciding which panels need repair/replacement, gather the right tools and materials, e.g. a hammer, nails, screws, a level, a measuring tape, a saw, and replacement panels.
- Install/repair fence panels. Start by getting rid of any damaged panels by using the right tools. For new panels, make sure they're correctly aligned and leveled before securing them with nails or screws. For repaired panels, strengthen weak parts with extra fasteners if necessary.
Remember to stay safe while installing/repairing. Different fence types may need specific techniques. Get professional help to find out more about your fencing needs.
Dig Deeper: How To Install A Garden Fence
Securing The Fence Panels In Place
- Check the existing fasteners on your fence panels. Replace any damaged or rusty nails, screws, or brackets for a strong foundation.
- Use a level to ensure each panel is aligned correctly. Adjust to make sure panels are parallel and same height.
- Get a second person to hold the panel while you attach it securely to the posts.
- Use suitable fasteners like nails, screws, or brackets, evenly spaced and placed at regular intervals.
- Now and then, check for misalignment or sagging; make adjustments promptly.
- Lastly, inspect all panels for stability by applying pressure from different angles. Reinforce weak spots before finishing.
Use top-notch materials that can brave weather and offer long-term durability.
Remember, to secure your fence panels for durability, privacy, and security. Follow these tips and give careful consideration during installation or repairs, to enjoy a perfectly maintained fence for years.
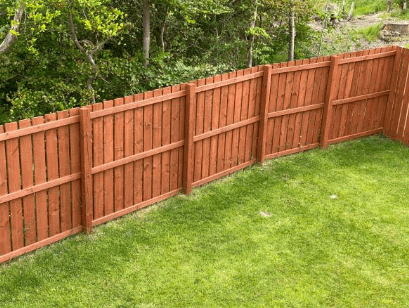
Finishing Touches And Maintenance Tips
For longevity and freshness, keep up with regular cleaning. Use water and mild detergent to remove dirt, dust, and grime. Paint or stain your fence for a vibrant look. Plus, it protects from weathering and rotting.
Inspect your fence for damage such as loose boards or rusted parts. Repair or replace them quickly. Trim vegetation near the fence to avoid rubbing and damage. Additionally, apply sealant for extra protection against moisture and sunlight. Use galvanized screws when making repairs or installing new boards. These are more resistant to rust and corrosion.
By following these tips and suggestions, your fence will look great for years! Show off your creative and practical maintenance skills!
Conclusion
- Check the damage and determine repair needs.
- Gather tools and materials. Dismantle damaged sections and replace them with new components. Align and stabilize during installation. Reinforce weak areas. Inspect every bit for issues or future problems.
Enhance longevity by cleaning, painting, and protecting. Check often for wear and tear or pest damage.
Pro Tip: For wooden fences, choose weather-resistant materials. Apply sealant or paint to prevent moisture damage. Regular inspections for timely repairs to prevent issues from getting worse.